免费开源ERP软件
![]()
ERPEXT是世界上最好的免费开源ERP(ERPNext is the world’s best free and open source ERP)
资源

安装实例
Install ERPNext on CentOS Linux or CentOS Stream
1 | CentOS Linux 8 End-of-life Dec 31st, 2021. |
1 | CentOS Stream 8 End-of-life May 31st, 2024. |
1 | CentOS Stream 9 End of RHEL9 full support phase. |
在CentOS 8上安装ERPNext软件
http://erpnext.com/
Some quick noteblock s on installing ERPNext on CentOS 8.
在CentOS 8上安装ERPNext的一些注意事项。
Just so you know:
This is a minimal working installation.
We don’t cover making the box secure - that’s up to you!
Install CentOS8
安装CentOS 8。
- Download CentOS8 on http://isoredirect.centos.org/centos/8/isos/x86_64/.
下载CentOS 8 - Install CentOS 8. We chose the “minimal” install for this guide.
选择最小化安装<带GUI的服务器> - After install, login and ensure your installation is up to date
by running :
安装完成请更新系统1
sudo yum update -y
- Install the extra packages repository:
添加epel-release源1
sudo yum install -y epel-release
- Replace packages repository(china):
替换成国内源1
2
3
4
5
6
7
8
9
10
11
12
13
14
15
16
17
18
19
20
21
22
23
24
25
26
27
28
29
30
31
32
33
34
35
36
37
38
39
40
41
42
43
44
45
46
47
48
49##### # file: /etc/yum.repos.d/CentOS-AppStream.repo
[AppStream]
name=CentOS-$releasever - AppStream
baseurl=http://mirrors.aliyun.com/centos/$releasever/AppStream/$basearch/os/
gpgcheck=1
enabled=1
gpgkey=file:///etc/pki/rpm-gpg/RPM-GPG-KEY-centosofficial
##### # file: /etc/yum.repos.d/CentOS-Base.repo
[BaseOS]
name=CentOS-$releasever - Base
baseurl=http://mirrors.aliyun.com/centos/$releasever/BaseOS/$basearch/os/
gpgcheck=1
enabled=1
gpgkey=file:///etc/pki/rpm-gpg/RPM-GPG-KEY-centosofficial
##### # file: /etc/yum.repos.d/CentOS-Epel.repo
[epel]
name=CentOS-$releasever - Epel
baseurl=http://mirrors.aliyun.com/epel/8/Everything/$basearch
enabled=1
gpgcheck=0
##### # file: /etc/yum.repos.d/CentOS-Media.repo
[c8-media-BaseOS]
name=CentOS-BaseOS-$releasever - Media
baseurl=file:///media/CentOS/BaseOS/
gpgcheck=1
enabled=1
gpgkey=file:///etc/pki/rpm-gpg/RPM-GPG-KEY-centosofficial
[c8-media-AppStream]
name=CentOS-AppStream-$releasever - Media
baseurl=file:///media/CentOS/AppStream/
gpgcheck=1
enabled=1
gpgkey=file:///etc/pki/rpm-gpg/RPM-GPG-KEY-centosofficial
或者
cd /etc/yum.repos.d/
mv /etc/yum.repos.d/CentOS-AppStream.repo /etc/yum.repos.d/CentOS-AppStream.repo.bak
mv /etc/yum.repos.d/CentOS-Base.repo /etc/yum.repos.d/CentOS-Base.repo.bak
mv /etc/yum.repos.d/CentOS-centosplus.repo /etc/yum.repos.d/CentOS-centosplus.repo.bak
mv /etc/yum.repos.d/CentOS-Extras.repo /etc/yum.repos.d/CentOS-Extras.repo.bak
mv /etc/yum.repos.d/CentOS-PowerTools.repo /etc/yum.repos.d/CentOS-PowerTools.repo.bak
curl -o /etc/yum.repos.d/CentOS-Base.repo http://mirrors.aliyun.com/repo/Centos-8.repo
yum makecache
yum -y updatePrepare OS for ERPNext
为安装ERPNext准备
- Install required packages:
安装依赖1
2
3
4
5
6
7
8
9
10
11
12
13
14
15
16
17
18
19
20
21curl --silent --location https://dl.yarnpkg.com/rpm/yarn.repo | sudo tee /etc/yum.repos.d/yarn.repo
curl --silent --location https://rpm.nodesource.com/setup_14.x | sudo bash -
sudo dnf groupinstall -y "Development Tools"
sudo yum install -y redhat-lsb-core git openssl-devel libffi-devel gcc make git mariadb mariadb-server
sudo yum install -y python39 python39-devel python39-setuptools python39-pip redis nodejs
sudo npm install -g yarn
python36 升级到39
删除软连接
rm -rf /usr/bin/python3
rm -rf /usr/bin/pip3
创建软连接
ln -s /usr/bin/python3.9 /usr/bin/python3
ln -s /usr/bin/pip3.9 /usr/bin/pip3
python3 -V
pip3 -V
pip3 install --upgrade pip setuptools
pip3 install ansible
yarn add air-datepicker@github:frappe/air-datepicker
yarn add node-sassInstall wkhtmltopdf
1 | wget https://github.com/wkhtmltopdf/wkhtmltopdf/releases *.rpm |
wkhtmltopdf Site
2) Create a user for ERPNext to run as, allowing it sudo access too:
添加用户
1 | adduser bench -d /opt/bench |
- (Optional) Configure sudo so it doesn’t need a password:
不启用密码
This step is optional but it might save you quite a bit of typing.
You might want to cut’n’paste this one!
1 | sudo sed -i 's/^#\s*\(%wheel\s\+ALL=(ALL)\s\+NOPASSWD:\s\+ALL\)/\1/' /etc/sudoers |
Open the firewall:
开户防火墙策略(如果已经关闭了请忽略)1
2
3
4sudo firewall-cmd --zone=public --add-port=80/tcp
sudo firewall-cmd --zone=public --add-port=443/tcp
sudo firewall-cmd --zone=public --add-port=8000/tcp
sudo firewall-cmd --runtime-to-permanentSet some kernel parameters:
设置内核1
2
3echo "vm.overcommit_memory = 1" | sudo tee -a /etc/sysctl.conf
echo "echo never > /sys/kernel/mm/transparent_hugepage/enabled" | sudo tee -a /etc/rc.d/rc.local
sudo chmod 755 /etc/rc.d/rc.localReboot:
重启
This will allow the updates to settle and the kernel parameters to get set.
1 | sudo reboot |
Prepare MariaDB (mysql) for ERPNext
为ERPNext准备数据库(MariaDB 10)
Edit the MariaDB configuration to set the correct character set:
编辑配置文件1
2
3
4
5
6
7
8
9
10
11
12cat <<EOF >/etc/my.cnf.d/erpnext.cnf
[mysqld]
innodb-file-format=barracuda
innodb-file-per-table=1
innodb-large-prefix=1
character-set-client-handshake = FALSE
character-set-server = utf8mb4
collation-server = utf8mb4_unicode_ci
[mysql]
default-character-set = utf8mb4
EOFEnable and start the MariaDB service:
启动数据库1
2systemctl enable mariadb
systemctl start mariadbSecure the service:
设置数据库
Start the secure script:
1 | mysql_secure_installation |
This is an interactive script that will ask you questions.
设置密码
Options are:
- Current root password is none - just press enter.
- Enter a new password for the root password - remember it!
- Remove anonymous users - Y
- Disallow remote root - Y
- Remove test database - Y
- Reload priv tables now - Y
Done!
3) Simple command:
常用命令
1 | mysql -uroot -p |
Install ERPNext
安装ERPNext
- Switch to the ERP user (or login as it) and change to home directory:
切换用户并返回主目录
1 | su erp |
- Install frappe-bench with pip and initialise:
安装Frappe-bench
This step takes a while so get yourself a beer. It reaches out to the Internet
and downloads a bunch of stuff and then builds it.
1 | pip3 install --user frappe-bench |
For the second command, a red error message appears early on about an “editable
requirement.” Ignore it.
When it’s done you should get the message in green text:
1 | SUCCESS: Bench frappe-bench initialized |
- Create a new frappe site:
新增Frappe站点
Prerequisites:
- You need a name for your site. We called ours erpdev.softwaretohardware.com
- You’ll need your MariaDB root password from earlier.
First we temporarily start the frappe development server:
1 | cd frappe-bench |
Then we create a new site. Substitute your own name.
1 | bench new-site erpdev.leanbench.com # Create a new site |
You will be prompted for the mysql password and a bit later, for the
adminstrator password for your new site.
noteblock : Don’t visit your new site with a browser just yet!
- Install the ERPNext application
安装ERPNext应用
1 | bench get-app erpnext --branch version-12 # Add ERPNext to your bench apps |
At the end of this step, the temporary server will stop and the exception
message looks bad. You can ignore it.
- Bring back your temporary server
1 | bench start >/tmp/bench_log & |
You now have an ERPNext instance listening on port 8000.
Visit it with a browser to set it up.
When you’re done, bring the server to the foreground and press Ctrl+C
1 | fg |
You can start it again at any time.
(Optional) Setup in production mode
生产环境设置
Ensure the test server from above is not running.
- Create the production configuration files for supervisor and nginx:在没有安装nginx&supervisor时安装
1 | bench setup supervisor |
- setup nginx supervisor:请确认在应用路径下/opt/frappe/config/有nginx.conf和supervisor.conf文件
1
yum install -y nginx supervisor
- Set permissions including relaxing SELinux a bit:要在SELinux打开时设置设置权限和文件连接
1 | chmod 755 /home/erp |
- Link the new configuration files to their respective services:要在SELinux打开时,将新配置文件链接到各自的服务
1 | sudo ln -s `pwd`/config/supervisor.conf /etc/supervisord.d/frappe-bench.ini |
Closed Firewall&SULinux:关闭Firewall&SULinux
1
2
systemctl status firewalld #显示服务的状态
systemctl disable firewalld #在开机时禁用服务sestatus -v 或getenforce #显示服务的状态
永久关闭selinux1
2vi /etc/selinux/config
SELINUX=disabled 默认值是: #SELINUX=enforcingEnable services to start at boot:
1
2sudo systemctl enable supervisord
sudo systemctl enable nginxReboot:
1
sudo reboot
After this your server should be accessible on port 80. You’ll need to use the domain name you specified above when creating the site, otherwise you’ll see the default nginx page.
Bench Manager
工作台管理模组安装
Bench Manager is a GUI frontend for Bench with the same functionalties. You can install it by executing the following command:
1 | $ bench setup manager |
noteblock : This will create a new site to setup Bench Manager, if you want to set it up on an existing site, run the following commands:
1 | $ bench get-app https://github.com/frappe/bench_manager.git |
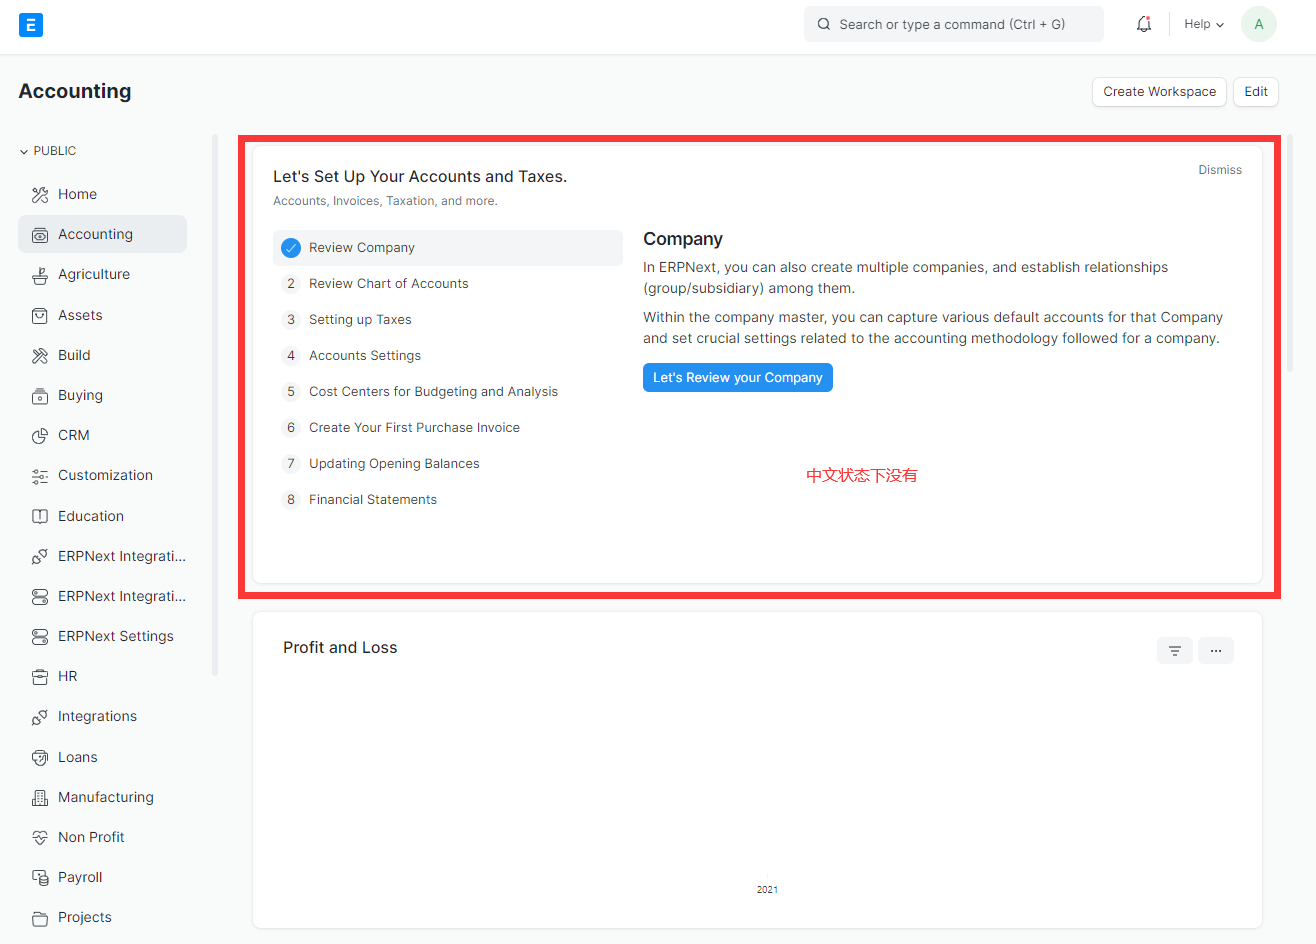
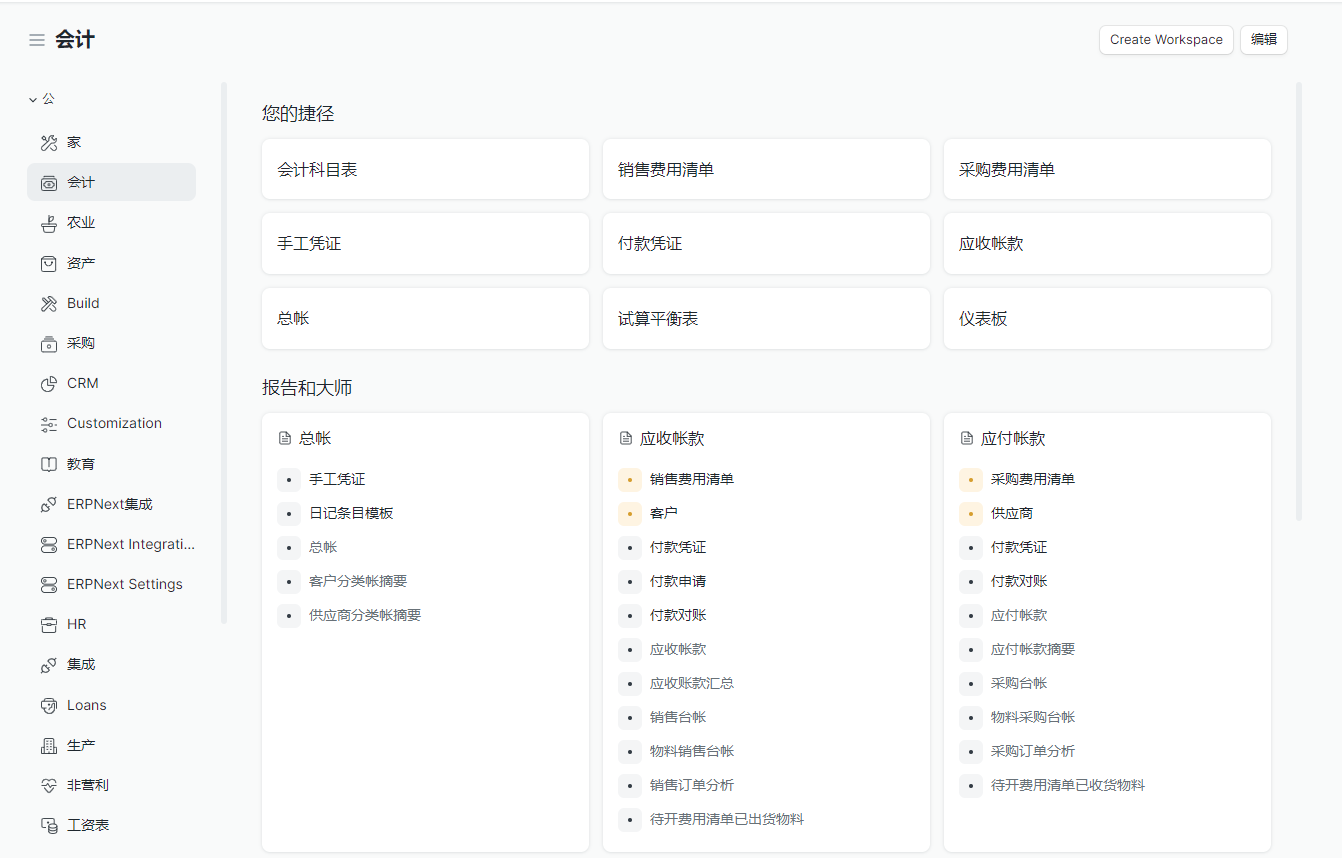
坑
语言设成中文时,大部分应用的初始界面是没有的,建议用英文界面初始化系统后再改成中文使用。